GitLab Pages module is a great way to host your site or blog for free. However, it doesn’t offer free SSL certificates for custom domain names at the moment. Continue reading for instructions on how to provision and deploy a dedicated domain’s SSL certificate provided by Let’s Encrypt and generate static pages with Hugo to be hosted on GitLab.
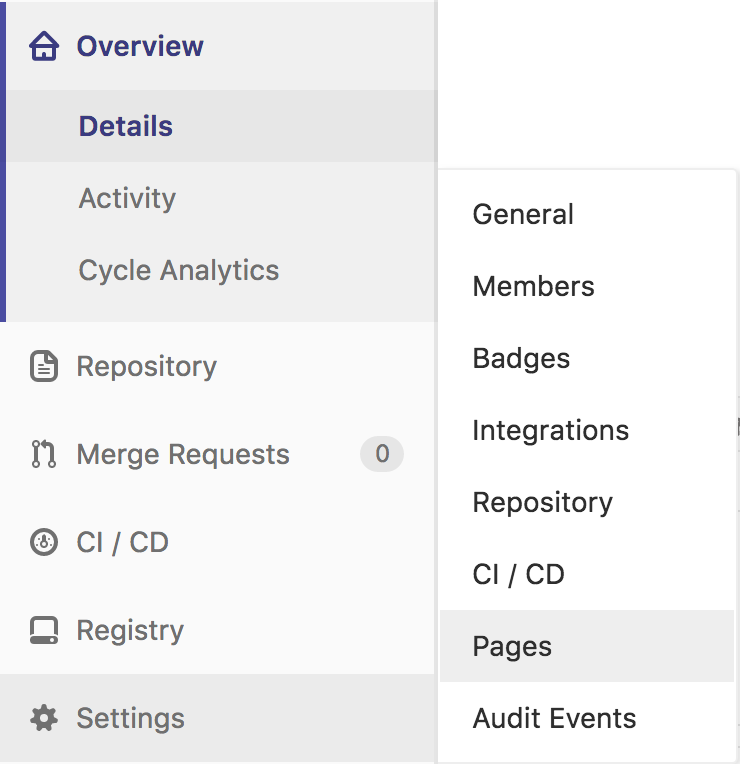
If you haven’t already configured GitLab Pages, start with adding a new domain in your repository’s Pages Settings section.

Then you need to add CNAME entry in your domain’s DNS zone to point to your subdomain under gitlab.io that GitLab provides for you for free. You also need to verify your domain by adding a TXT entry in your domain’s DNS zone. You’ll find all the instructions in GitLab Pages module.
Once this is set up and Hugo can generate static pages for you (you can start by forking https://gitlab.com/pages/hugo repository), you’ll need to provision a Let’s Encrypt SSL certificate that you need to generate on another server or your computer.
On Linux or Mac Run:
git clone https://github.com/letsencrypt/letsencrypt
cd letsencrypt
./letsencrypt-auto certonly -a manual -d yourdomain.name
You’ll need to provide your email address if you’d like to receive expiry alerts or notifications from Let’s Encrypt service, and you’ll need to agree for your IP address to be logged as the one requesting the certificate. Once you’ve done this you should see:
Create a file containing just this data:

xxxxxxx.yyyyyyyy-zzzzzzzz

And make it available on your web server at this URL:

http://yourdomain.name/.well-known/acme-challenge/xxxxxxxxx
The tool will pause asking you to start verification process. Don’t start it yet. Open a new terminal window and go to the pages forked repository and create .well-known/acme-challenge directory inside static directory in the repo.
Inside the directory create the file the Let’s Encrypt tool output and put the verification string there.
Commit the file and push the code to GitLab. GitLab should run Hugo and it should publish your changes to the site within a minute. Verify that you can access the verification file and that it shows the verification code.
Go ahead now and start the verification process in the previous terminal. After a few seconds letsencrypt should output verification success message and point you to the pem files storing your certificate and private key. You’ll need the fullchain.pem and privkey.pem files. Open them so that you can copy their contents.
Open your domain setting’s page on GitLab Pages. Paste the contents of the fullchain.pem file into the certificate text box, and the contents of the privkey.pem file into the private key text box. Click save and after a few minutes you should be able to access your GitLab Pages hosted static page through SSL protected https protocol.
That’s it! but remember to renew your certificate every 3 months.
If you’re looking for high quality software development services, visit our home page at www.innovagile.com.
